
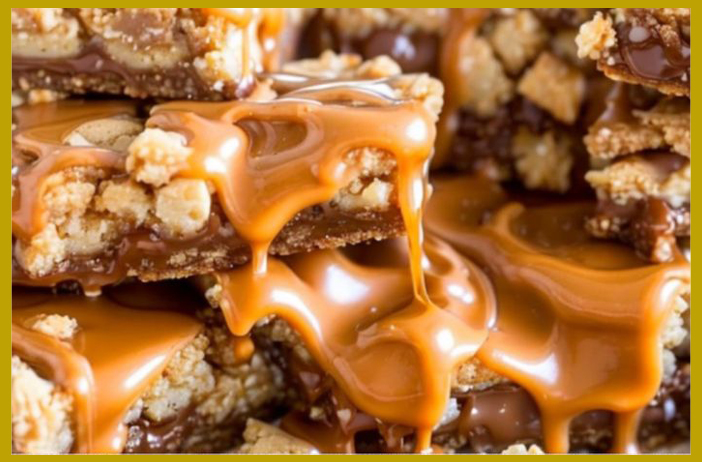
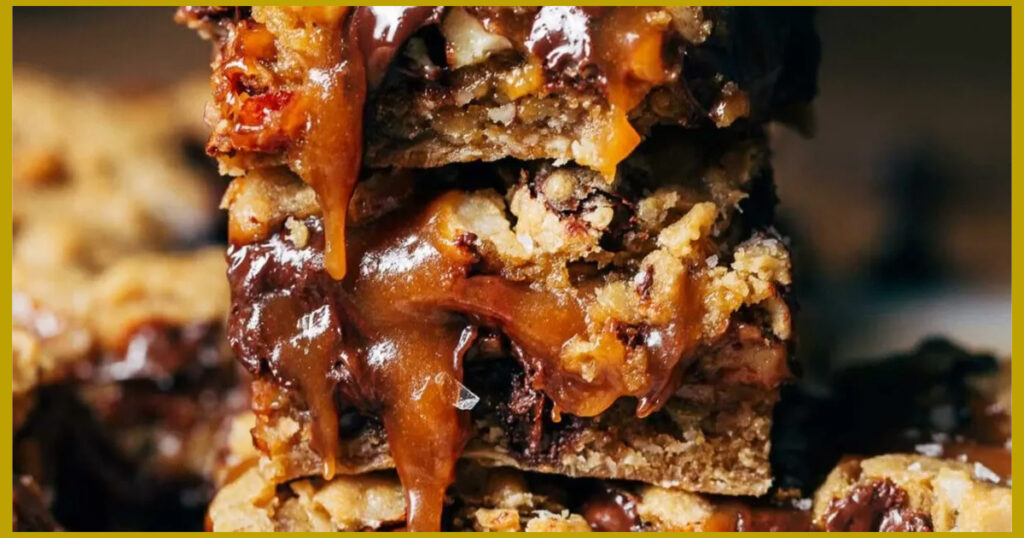
A Decadent Layer of Sweet and Salty Bliss
ADVERTISEMENT
ADVERTISEMENT
Preparation Phase & Tools To Use
Tools:
- 9×13 inch baking pan
- Mixing bowls
- Electric mixer or whisk
- Saucepan for the caramel
- Measuring cups and spoons
- Baking parchment or non-stick spray
Ingredients and Their Roles:
For the Cookie Dough:
- Unsalted butter (1 cup, melted): The base of the dough, adding richness and flavor.
- Brown sugar (1 cup): Adds moisture and a deep, caramel-like sweetness.
- Granulated sugar (1/2 cup): Provides sweetness and helps in creating a tender texture.
- Eggs (2 large): Bind the ingredients together, adding structure.
- Vanilla extract (2 teaspoons): Enhances flavor.
- All-purpose flour (2 1/2 cups): The main structure of the cookie bars.
- Baking soda (1/2 teaspoon): A leavening agent that helps the bars rise slightly.
- Salt (1 teaspoon): Balances sweetness and enhances overall flavor.
- Chocolate chips (2 cups): Adds chocolatey goodness in every bite.
ADVERTISEMENT
For the Salted Caramel:
- Sugar (1 cup): The base of the caramel.
- Heavy cream (6 tablespoons): Adds creaminess and richness to the caramel.
- Unsalted butter (4 tablespoons): Contributes to the caramel’s rich texture.
- Sea salt (1/2 teaspoon): Provides the salted aspect, balancing the caramel’s sweetness.
Step-By-Step Instructions:
- Preheat Oven & Prepare Pan: Preheat your oven to 350°F (175°C). Line a 9×13 inch baking pan with parchment paper or lightly grease it with non-stick spray.
- Make Cookie Dough: In a large bowl, mix melted butter, brown sugar, and granulated sugar until well combined. Beat in the eggs and vanilla extract until smooth. Gradually add the flour, baking soda, and salt, mixing until a soft dough forms. Fold in the chocolate chips.
- Prepare Half the Dough: Press half of the cookie dough evenly into the prepared pan, forming the bottom layer.
- Make Salted Caramel: In a saucepan over medium heat, melt the sugar, stirring constantly to prevent burning. Once melted, add the butter and stir until combined. Slowly pour in the heavy cream, stirring continuously. Bring to a slight boil and remove from heat; stir in the sea salt.
- Layer Caramel: Pour the salted caramel over the cookie dough layer in the pan. Use a spoon to spread evenly.
- Add Remaining Dough: Drop spoonfuls of the remaining cookie dough over the caramel. It doesn’t need to cover completely; the caramel peeking through is fine.
- Bake: Bake for about 30 minutes, or until the top is lightly golden and the caramel is bubbling slightly.
- Cool & Serve: Let the bars cool completely in the pan before lifting them out using the parchment paper. Cut into squares and sprinkle a little more sea salt on top before serving.
ADVERTISEMENT
ADVERTISEMENT
Time and Servings:
- Prep Time: 20 minutes
- Cooking Time: 30 minutes
- Total Time: 50 minutes (plus cooling)
- Servings: 12-16 bars
Nutritional Information & Health Benefits:
These cookie bars are a treat meant for special occasions, offering a delightful mix of textures and flavors. While they’re on the indulgent side, moderation is key to enjoying them as part of a balanced diet.
Common Mistakes To Avoid & How to Perfect the Recipe:
- Burning the Caramel: Keep a close eye on the sugar as it melts; it can quickly go from caramel to burnt.
- Not Cooling Completely: Allow the bars to cool thoroughly before cutting to prevent them from falling apart.
- Overbaking: Bake just until the edges are set but the center is slightly underdone to ensure a gooey texture.
Conclusion:
Salted Caramel Chocolate Chip Cookie Bars blend the best of both worlds: the chewiness of cookie bars and the irresistible sweetness of salted caramel. Whether you’re making them for a special occasion or a cozy night in, these bars are sure to satisfy your sweet tooth. The key to their perfection lies in the balance of flavors and textures, from the soft cookie base to the rich caramel layer, finished with a touch of sea salt. Enjoy the process and the delicious outcome!